 |  | | | |  | |  |  | 2240 project HPA and regulator WIP |  | |  |  | |
 Posted: Wed Mar 12, 2014 8:52 pm Posted: Wed Mar 12, 2014 8:52 pm |
 |
|
| ace |
| Member |

 |
|
| Joined: 08 Jun 2013 |
| Posts: 55 |
|
|
|
|
Warning pic heavy:
Since my return back to airgun’n I’ve been wanting to do this little project to my 2240 and running it on HPA and being able to use a regulator as well, some might remember me saying that I don’t like CO2 cartridges and that’s why my 2240 has just sat around not being used much.
So this was my reason to run HPA on my 2240 and finally getting some use from the gun again. Being that I was pretty heavily into paintball I had all that I needed laying around to make this project work without having to go out and source the parts.
All I had to get was two small pieces of aluminum plate to make tank brackets. One bracket was sent to me some time ago to me from Todd thanks again buddy it’s finally coming in to good use, :wink: all I did was cut and shaped another bracket from his or as close as possible. 
I must also mention this is a "WIP" so I will be changing things up a little as I go along with this project but as of right now the gun is shooting great and I’m pretty happy with it. This build wasn’t about power that’s easy to achieve, it was more about max shot count on one fill while remaining under 500fps and keeping the shot spread +/- very close. Also before I forget I’d like to thank TH for the 14” barrel. :wink:
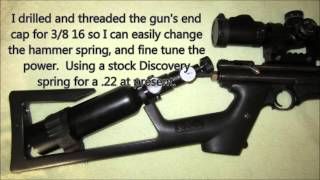
Before I go on I would like to say originally I was thinking of mounting the bottle in-between the stock, like in this first pic but then changed my mind and decided to not chop the stock up because I could easily swap the stock to my 1322. But I might still consider this idea after it was all done. :?
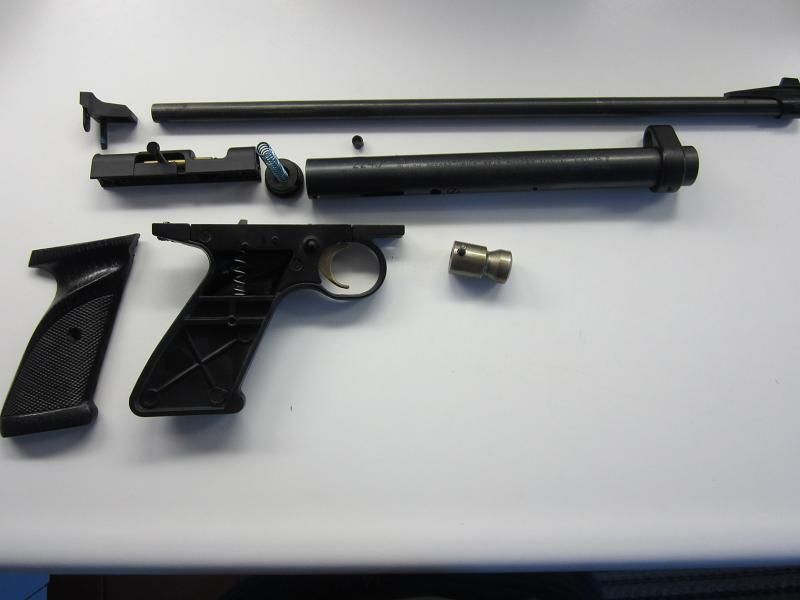
First is the disassembly of the gun
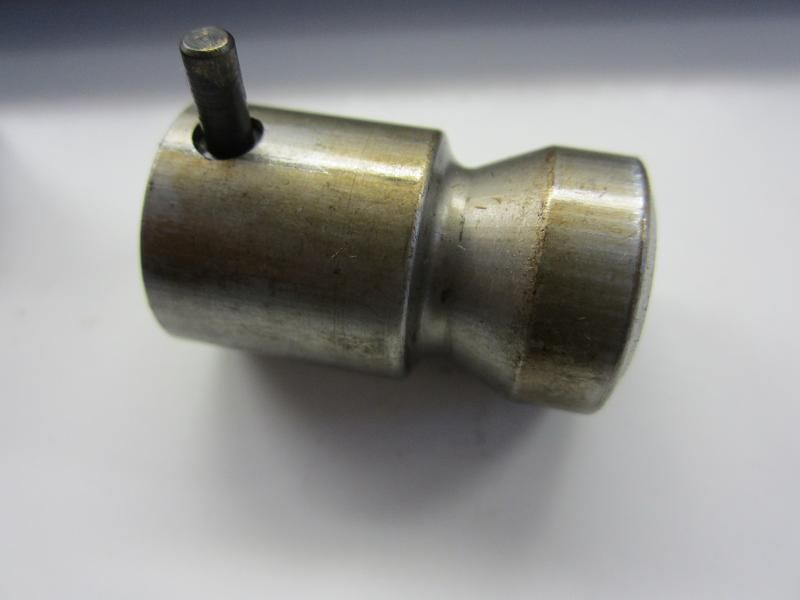
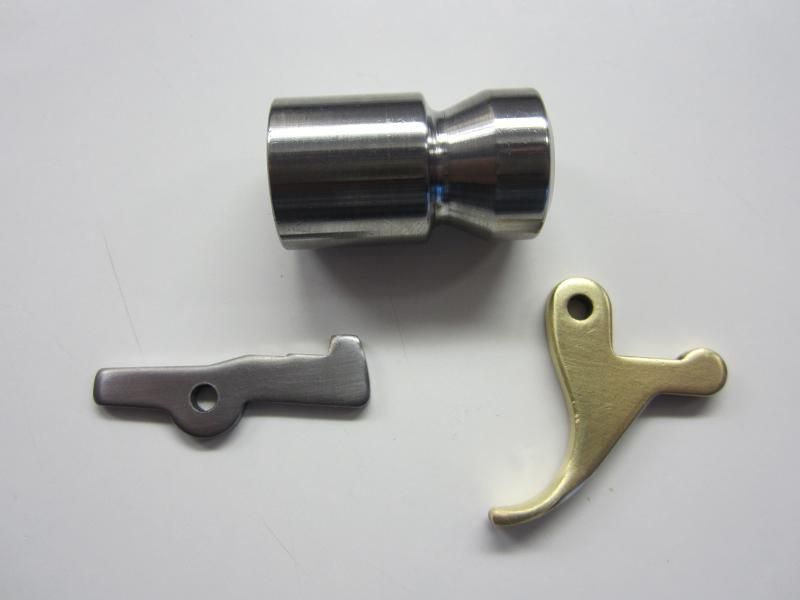
Next I polished the hammer and cut the tip off the top on the trigger and polished up and deburr’d the sear. Also lightened the hammer spring and valve spring.
Hammer before:
Hammer, trigger and sear after:
Next I drilled and tapped the valve and cut a little off the top to put a line fitting on, also did the same to the tube end cap. And also angle ported the transfer port.
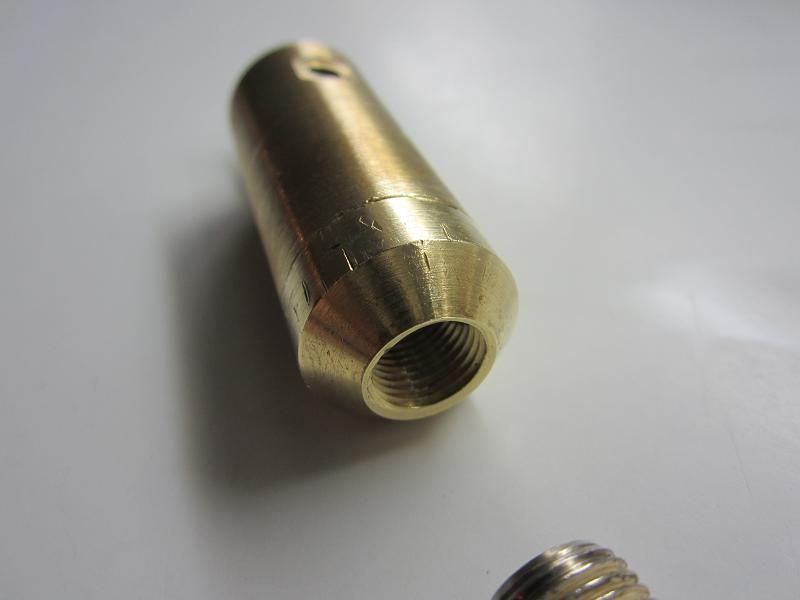
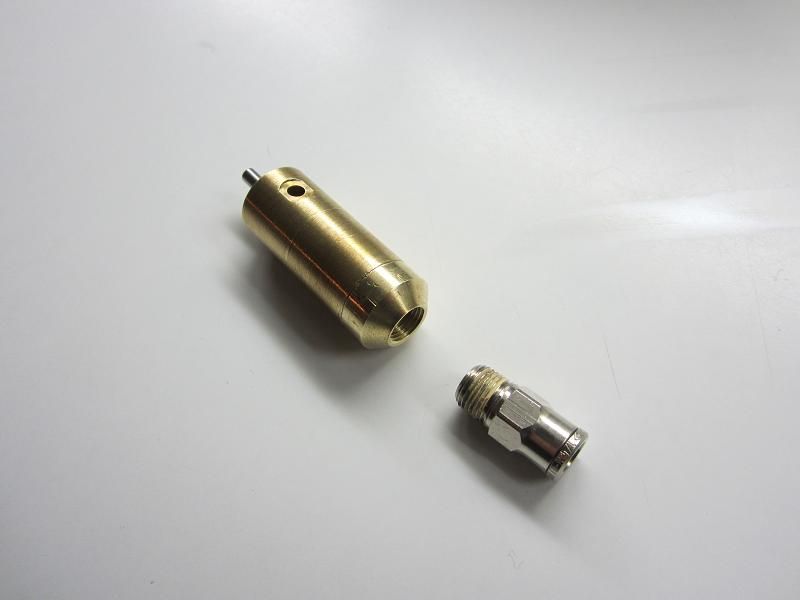
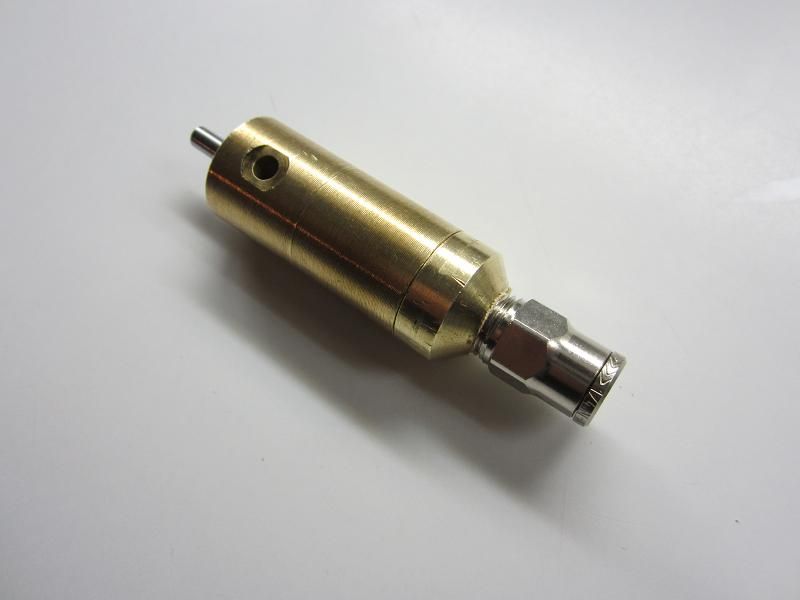
Attached high psi hose from valve to cap:
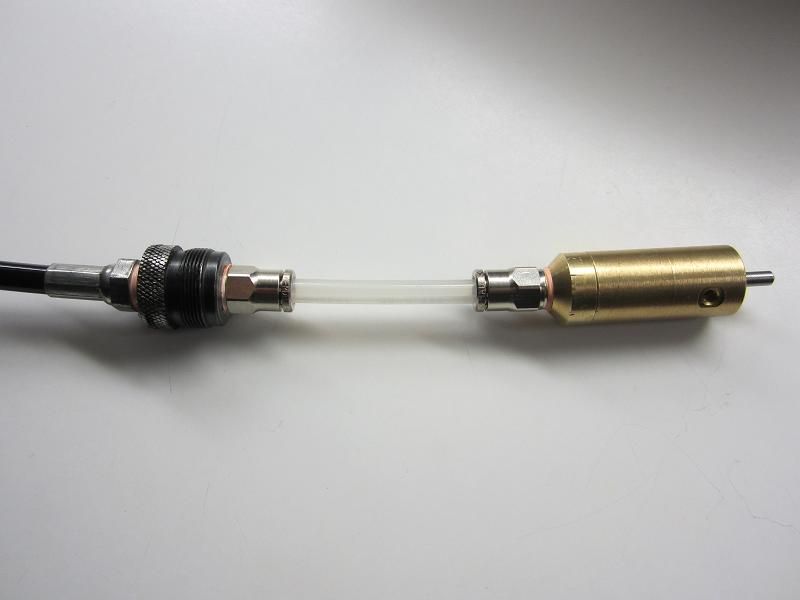
Attached bottle and tested for any leaks before moving forward.
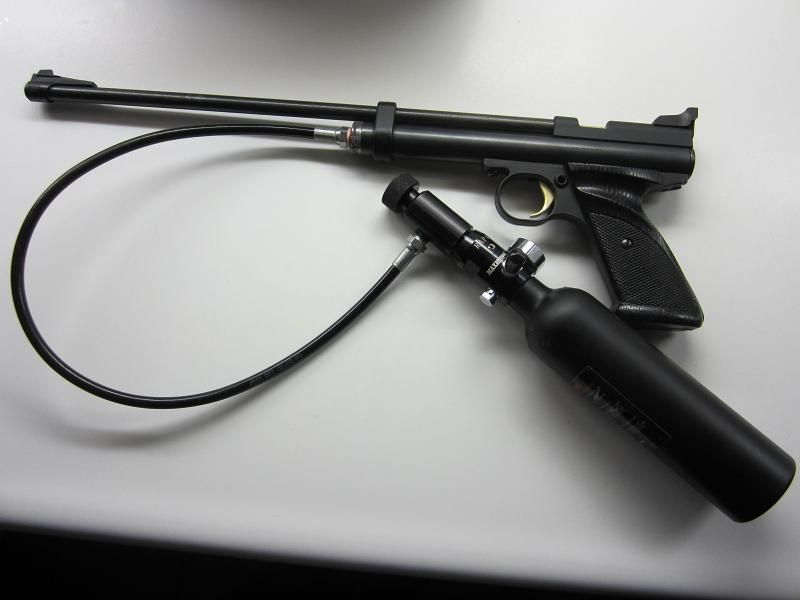
Next attached the tank to the gun for fitting and alignment.
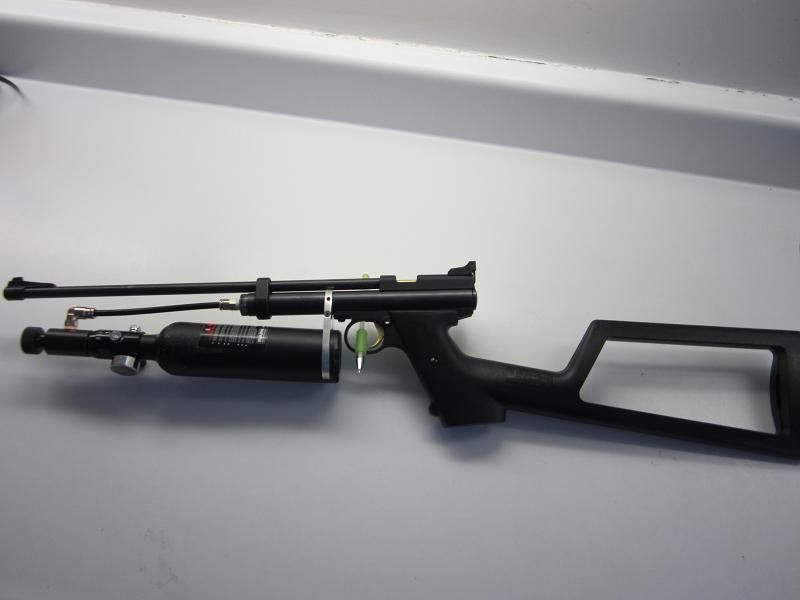
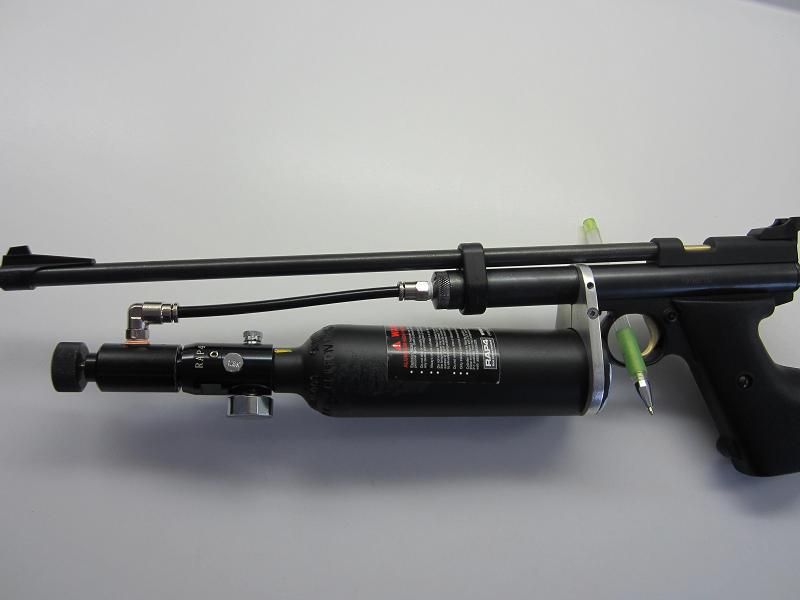
Cut out and attached second bracket:
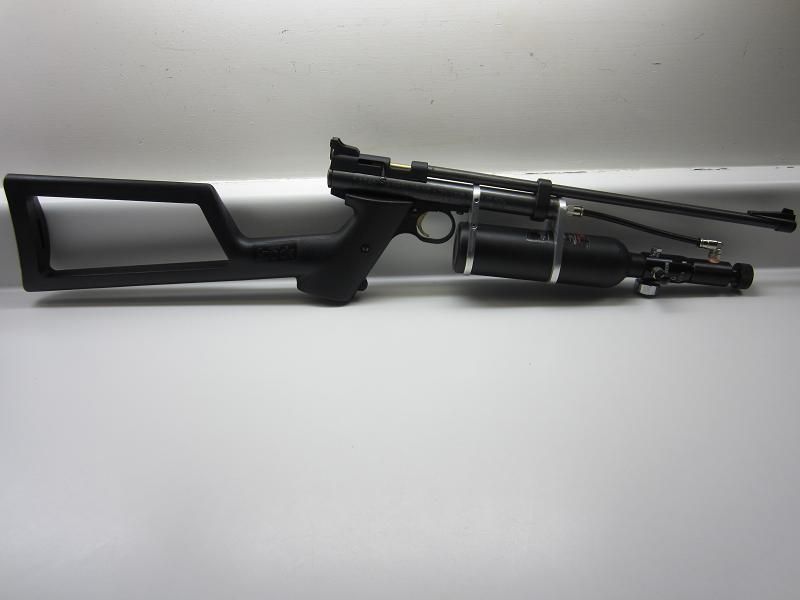
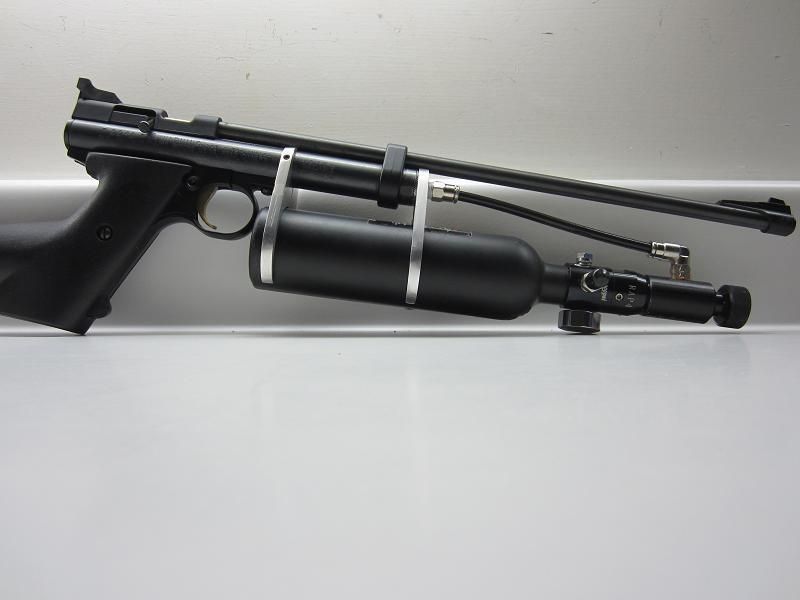
Next attached the regulator and fitting also need to make a bracket to attach to the barrel, but I’m debating if I’ll leave the tank on the front of the gun even though it has a nice forward feel to it, and acts as a forestock.
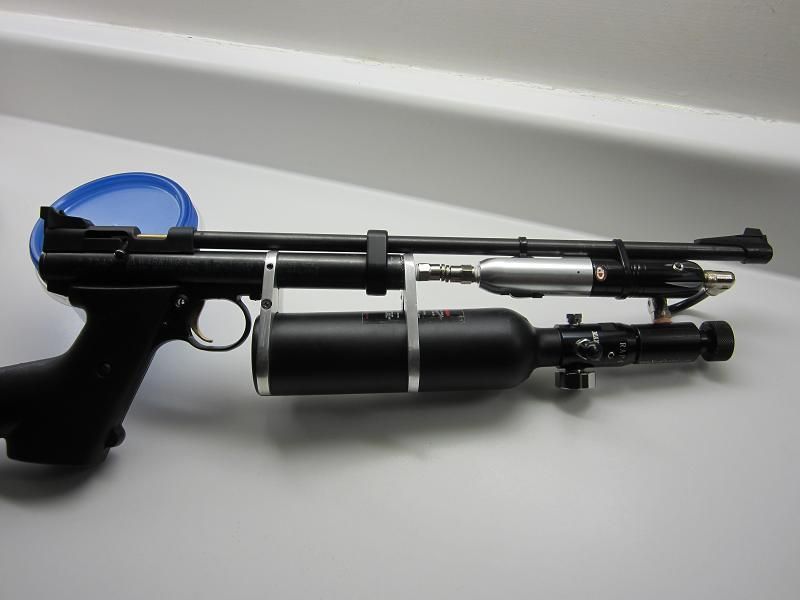
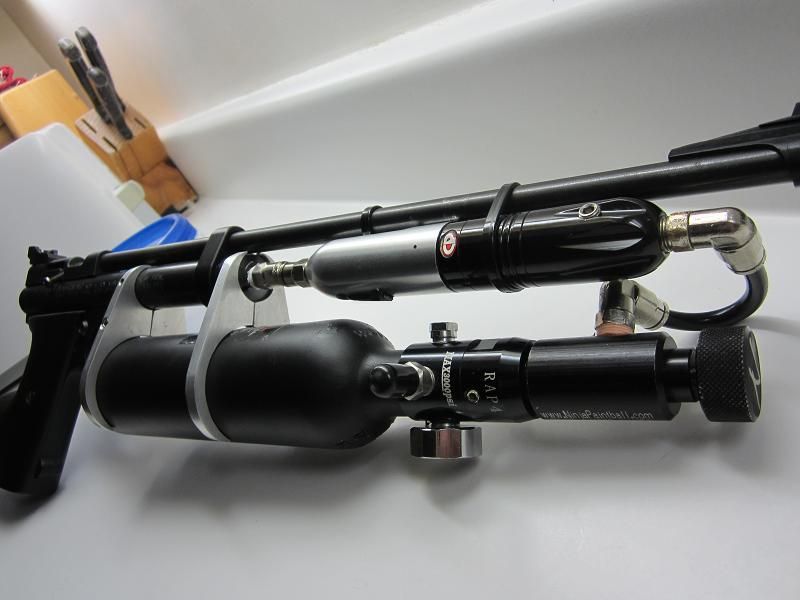
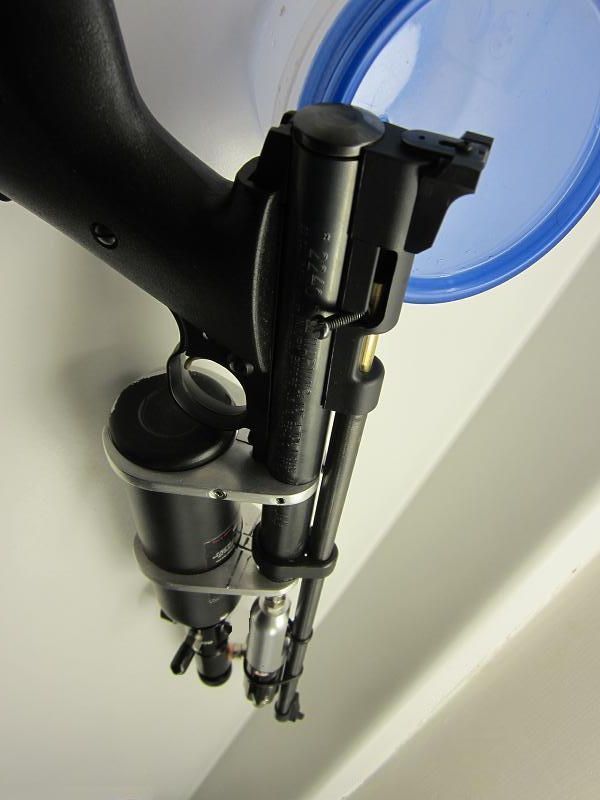 |
|
|
|
|
|
|
| |  |  | | | |  |  |
| | | | | | | | | | | | | | |
| Posted: Wed Mar 12, 2014 9:05 pm |
|
|
| DavidSaunders |
| Veteran Member |

 |
|
| Joined: 05 Mar 2014 |
| Posts: 140 |
|
|
|
|
Nice conversion. I can not wait to see the final result  . . |
|
|
|
|
|
|
| | | | | | | | |
| | | | | | | | | | | | | | |
| Posted: Thu Mar 13, 2014 7:15 pm |
|
|
| AirGunEric |
| Site Admin |

 |
|
| Joined: 20 Jan 2007 |
| Posts: 6929 |
| Location: "Out There" |
|
|
|
| Do you have a pressure rating on that hose? If not, this could be risky... |
|
|
|
|
|
|
| | | | | | | | |
| | | | | | | | | | | | | | |
| Posted: Thu Mar 13, 2014 10:31 pm |
|
|
| ace |
| Member |
|
|
| Joined: 08 Jun 2013 |
| Posts: 55 |
|
|
|
|
lol.... no prob Eric good point, its actually a paintball rated macro line made for this kind of setup, its not a peace of rubber tubing  , these lines are rated from 50 to 500 to 1200 psi working pressure mine is the higher. And the tank is only pushing out 850psi. , these lines are rated from 50 to 500 to 1200 psi working pressure mine is the higher. And the tank is only pushing out 850psi. |
|
|
|
|
|
|
| | | | | | | | |
| | | | | | | | | | | | | | |
| Posted: Thu Mar 13, 2014 10:35 pm |
|
|
| AirGunEric |
| Site Admin |
|
|
| Joined: 20 Jan 2007 |
| Posts: 6929 |
| Location: "Out There" |
|
|
|
| AS long as no one thinks it's 1/4" plumbing line and does the same thing and blows the hose out inside in the tube and causes a rupture somewhere else, injuring themselves, we're probably good. |
|
|
|
|
|
|
| | | | | | | | |
| | | | | | | | | | | | | | |
| Posted: Thu Mar 13, 2014 10:40 pm |
|
|
| ace |
| Member |
|
|
| Joined: 08 Jun 2013 |
| Posts: 55 |
|
|
|
|
true and thanks for pointing that out Eric i just automatically thought because i said in my post that its a all paintball related stuff that i used and that people would understand but your right it never hurts to point these things out thanks again.  |
|
|
|
|
|
|
| | | | | | | | |
| | | | | | | | | That is pretty cool but | | | | | |
| Posted: Fri Mar 28, 2014 9:06 pm |
|
|
| ray1377 |
| New Member |

|
|
| Joined: 05 Nov 2008 |
| Posts: 5 |
|
|
|
|
What I find most interesting is the fact that you look like you can build or design just about anything you put your mind to, ergo the bottle mounting clamps. And then you notice your using an actual "bolt" for your bolt handle.
Now thats cool.
Ray |
|
|
|
|
|
|
| | | | | | | | |
| | | | | | | | | | | | | | |
| Posted: Thu Jan 22, 2015 10:18 pm |
|
|
| Remtom1200 |
| Member |
|
|
| Joined: 02 Jan 2012 |
| Posts: 53 |
|
|
|
|
| Curious as to why you added the cp reg? The tank is regged at 800-850psi and the cp reg is used to take tank psi down to 100- 250 psi? Just curious as I am a paintballer as well. |
|
|
|
|
|
|
| | | | | | | | |
Note: If you are seeing "Please enter your username and password to log in." Your browser cookies have been reset
or you need to register to access the topic in question. Use the 'Register' button near the top left of this page.
|













